- [ethereum]Ethereum 설치 및 실행
- [ethereum]Smart Contract(Lottery 시스템) 제작
- [ethereum]ethereum과 통신해보기
- [ethereum]Smart Contract(Lottery 시스템)과 통신해보기 - basic
- [ethereum]Smart Contract(Lottery 시스템)과 통신해보기 - event & log
- [ethereum & java]web3j를 통해 ethereum과 통신해보기
- [ethereum & java]Smart Contract(Lottery 시스템)과 web3j를 통해 통신해보기 - basic
- [ethereum & java]Smart Contract(Lottery 시스템)과 web3j를 통해 통신해보기 - event & log
안녕하세요. 추석도 지나고 이제 쌀쌀해지고 있습니다. 건강 잘 챙시기 바랍니다.
오늘은 smart contract와 통신하기 마지막 시간입니다. 지금까지 우리는 ehtereum과 POST로 통신, web3j로 기본 통신 등을 알아보았습니다. 오늘은 web3j를 통해 Ethereum의 Event와 Log를 수신 받는 방법에 대해서 알아보도록 하겠습니다.
web3j Filter & Log
ehtereum에서 filter는 ethereum network상에서 일어나는 특정 이벤트의 발생에 대해서 알람을 줄 수 있습니다. ethereum에서 제공하는 3자기 filter는 아래와 같습니다.
- Block filter
- Pending transaction filter
- topic filter
Block Filter와 Pending transaction filter는 block이 새롭게 생성되거나 새로운 transaction이 발생하면 알림이 발생하고 topic은 좀 더 flexible하게 받아들이는 알림을 조정할 수 있습니다.
그리고 이벤트는 WebSocket, Spring이라면 Webflux를 사용하지 않는다면, 바로 받을 수 없습니다. 왜냐하면 ethereum network에서 push로 이벤트를 주지 않기 때문입니다. 우리는 우리가 원한다면 pull로 event를 당겨 받아 볼 수 있습니다.
Smart contract
pragma solidity >=0.4.21 <0.6.0;

contract Lottery
{
    address payable public owner;
    uint256 private _pot;

    event SETPOT(uint256 _pot);
    event WHO(address indexed caller);

    constructor() public
    {
        owner = msg.sender;
    }

    function getPot() public view returns(uint256)
    {
        return _pot;
    }

    function getNumber(uint256 num) public pure returns(uint256)
    {
        return num;
    }

    function getOwner() public returns(address)
    {
        emit WHO(msg.sender);
        return owner;
    }

    function setPot(uint256 pot) public
    {
        emit SETPOT(pot);
        _pot = pot;
    }
}
smart contract code를 보면 setPot과 getOwner method호출 시 event가 호출되는 것을 알 수 있습니다.
Web3j에서는 RxJava 또는 filter API를 통해서 event를 얻을 수 있는 기능을 제공하고 있습니다. RxJava는 익숙하신 분들이 적을 것이기 때문에 filter API를 통해서 한번 event를 얻어보도록 하겠습니다.
Smart Contract Test
eventLog를 받는 부분에 있어서 ganache-cli는 버그가 있다고 합니다. 최신버전에서는 고쳐졌다고 하지만 저는 Geth를 ethereum network로 이용하도록 하겠습니다. 테스트를 해보도록 하겠습니다.
geth는 아래와 같은 명령어로 띄웁니다.
geth --networkid 8484 --datadir "/Users/sabarada/dev/ethereum/data" --rpc --rpcaddr "127.0.0.1" --rpcport 8545 --port 30303 --rpccorsdomain "*" --rpcapi "net,eth,web3,personal" --allow-insecure-unlock --unlock 0 console간단히 옵션에 대해서 설명드리겠습니다.
- --rpcapi : personal, db, eth, net, web3와 같은 rpcapi를 사용할것이다.
- --rpc : rpc 통신을 허용한다.
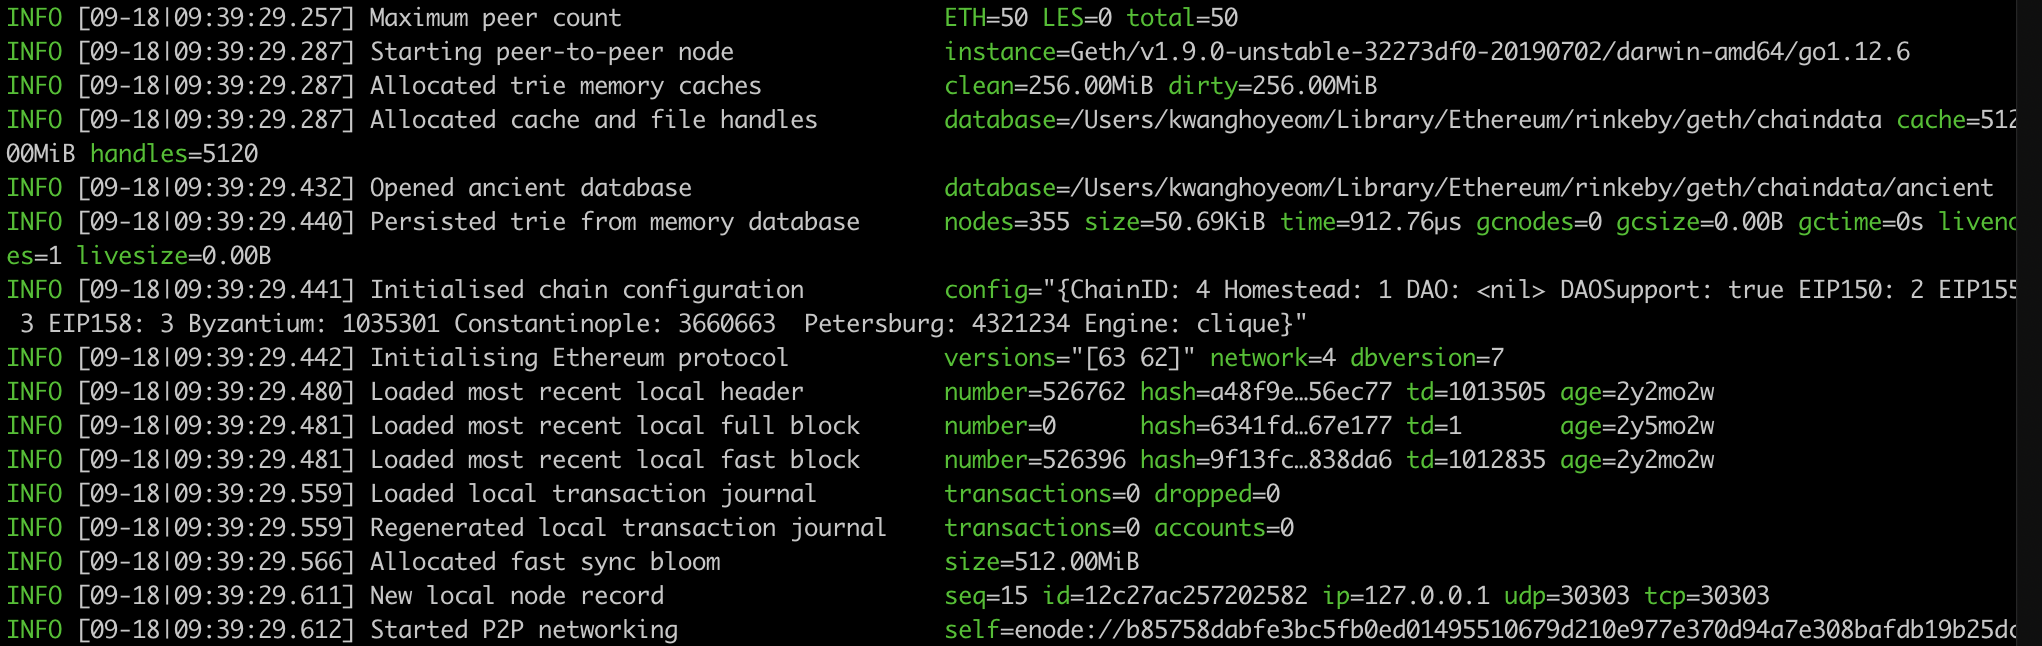
정상적으로 띄웠다면 아래와 같이 출력될 것이며 잠시 후 mining을 시작할 것입니다.
이렇게 띄운 ethereum network에 작성한 smart-contract를 배포하도록 하겠습니다. 배포에는 truffle을 이용하며 명령어는 truffle migrate를 사용합니다.
smart contract가 잘 migrate되었으며 우리가 사용할 정보는 아래와 같습니다.
- 계정정보 : 0x7d324dbc8fc704881d302da3b264e2243007bdba
- contract address : 0xbc0be6Ac66110Fb2fC15331E57BEDF7ba9D2F382
이제 그럼 위 contract를 이용할 수 있는 spring application을 만들어보겠습니다.
dependency
Web3j를 이용하기 위해 maven또는 gradle로 dependency를 잡아주어야 합니다.
<dependency>
  <groupId>org.web3j</groupId>
  <artifactId>core</artifactId>
  <version>4.2.0</version>
</dependency>
compile ('org.web3j:core:4.2.0')이제 web3j를 사용할 수 있습니다.
Service
Service의 흐름도를 먼저 훑고 가겠습니다.
- event가 포함되어 있는 method의 transaction을 발생시킨다.
- transaction에 대한 log가 포함되어 있는지 receipt를 확인한다.
- event topic이 있는지 확인한 후 내가 보고자 하는 topic이 맞는지 검증한다.
- event topic을 통해 ethereum network에 log가 있는지 확인한다.
public Address getOwner() throws IOException, ExecutionException, InterruptedException {

        // 1 ~ 3. 토픽 얻어오기
        String topic = getTopic();

        // 4. 토픽을 통한 Log 얻어오기.
        List<LogResult> filter = ethereumService.createFilterAndRead(topic);

        // 출력!
        filter.stream().forEach(System.out::println);

        return null;
    }
1 ~ 3번으로 topic을 얻어 온 후 추후에는 4번을 호출하면서 Event가 발생했는지 확인하면 됩니다. 먼저 topic을 얻어오는 부분을 보도록 하겠습니다.
/*topic 얻어오기*/

public String getTopic() throws InterruptedException, ExecutionException, IOException {
        // 1. Function제작
        Function function = new Function("getOwner",
                                         Collections.emptyList(),
                                         Arrays.asList(new TypeReference<Address>() {}));

        String txHash = ethereumService.ethSendTransaction(function);
        System.out.println("txHash = " + txHash);

        // 2. transaction 발생
        TransactionReceipt receipt = ethereumService.getReceipt(txHash);
        System.out.println("receipt = " + receipt);

        // 3. Receipt에서 topic확인
        String s = receipt.getLogs().get(0).getTopics().get(0);
        System.out.println("s = " + s);
        return s;
    }
1. 호출할 Function을 제작합니다. 2. Ethereum Network에 만든 Fucntion으로 Transaction을 발생시킵니다. 3. Receipt에 있는 Topic을 확인합니다.
txHash = 0x259e4f6df86225289dbdbbc7628dd0b9e68a50ebd520c692e4d100ab34758a0c
transactionHash= ...중략... topics=[0x7fb9819a09a35786a1935798187608d12fb9f74418c5224871a8ca49181647c9]}],
위의 내용은 그 결과 값입니다. 사실 결과값으로 얻어온 hash값은 Event의 ABI encoding 값입니다.즉, event SETPOT(uint256 _pot)를 ABI encoding한 값과 동일합니다.
이렇게 topic을 얻었으니 이제 이것을 사용하여 event filter를 만들고 적용해 보도록 하겠습니다.
/*event Log 확인*/
public List<EthLog.LogResult> createFilterAndRead(String topic) throws IOException {
        EthFilter ethFilter = new EthFilter(DefaultBlockParameterName.EARLIEST,
                                            DefaultBlockParameterName.LATEST,
                                            contract);

        ethFilter.addSingleTopic(topic);
        EthLog ethLog = web3j.ethGetLogs(ethFilter).send();
        return ethLog.getLogs();
    }
아래는 event를 filter하여 얻은 Log 결과값입니다.
Log{removed=false, logIndex='0x0', transactionIndex='0x0', transactionHash='0x5e8528d9fd871933a9fe871c0698d3d588c203f8c85a24107883db0f9359c25b', blockHash='0xa046b63f5ab1bd0c3e521ba130ab7faaa5217912698669a5292767851c894748', blockNumber='0x17a7', address='0x444340bb7da424ebeba1ced5b1712b17a97cd93d', data='0x0000000000000000000000007d324dbc8fc704881d302da3b264e2243007bdba', type='null', topics=[0x7fb9819a09a35786a1935798187608d12fb9f74418c5224871a8ca49181647c9]}이중에서도 data를 보시면 우리가 얻고자 했떤 address값이 ABI Encoding으로 들어있음을 알 수 있었습니다.
마무리
오늘은 web3j를 통해 ethereum network에서 event를 수신하는 방법을 확인해보았습니다.
이렇게 해서 ethereum 설치부터 http 통신하기, web3j를 통해 통신하기라는 3가지 틀의 주제를 연재식으로 함께 보아왔습니다. 원래는 6번의 Posting으로 하려고 했으나, 좀 더 Detail하게 알려드리는게 좋지 않을까 하였는데 늘어진 감이 없지않아 있는것 같습니다. 다음번 Posting의 거름으로 삼도록 하겠으며 오늘은 여기까지 하겠습니다.
감사합니다.
참조
'프로그래밍 > 블록체인' 카테고리의 다른 글
| [java & ethereum] Smart Contract(Lottery 시스템)를 web3j를 통해 통신해보기 - basic (0) | 2019.09.09 |
|---|---|
| [java & ethereum] web3j를 통해 ethereum과 통신해보기 (0) | 2019.09.02 |
| [ethereum] Smart Contract(Lottery 시스템)과 통신해보기 - event & log (0) | 2019.08.28 |
| [Ethereum]Ethereum의 Transaction 처리 Life Cycle 분석 (0) | 2019.08.23 |
| [ethereum] Smart Contract(Lottery 시스템)과 통신해보기 - basic (2) | 2019.08.21 |


댓글